Introduction: The Critical Importance of Proper Calibration
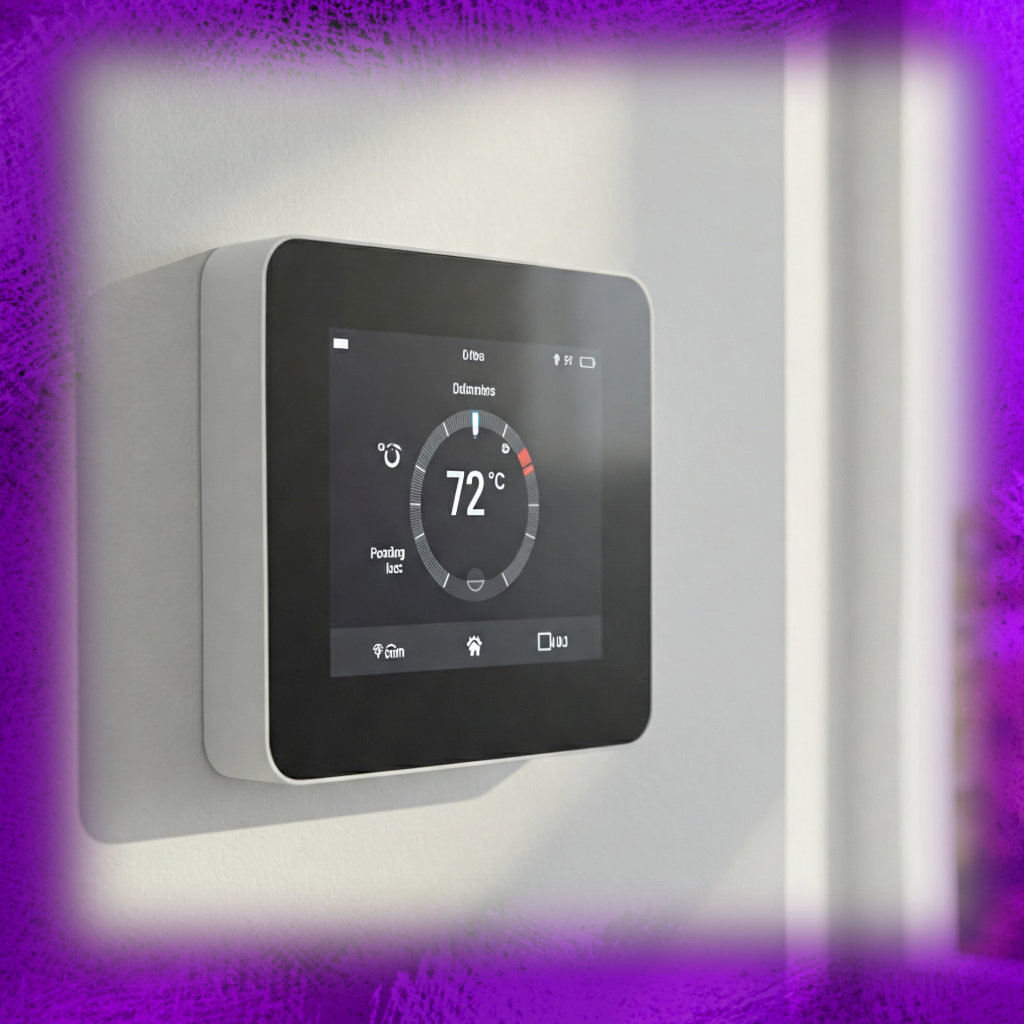
In today’s smart home ecosystem, thermostats have evolved from simple temperature regulators to sophisticated climate control centers. However, this technological advancement comes with an often-overlooked requirement: regular calibration. Like a precision instrument, your smart thermostat’s accuracy degrades over time, leading to comfort issues and energy waste that most homeowners never attribute to their trusted device.
Recent studies from the Lawrence Berkeley National Laboratory reveal that nearly 70% of smart thermostats develop significant calibration drift within 18-24 months of installation. This gradual loss of accuracy typically goes unnoticed because it happens slowly – about 0.5-1°F per year – but the cumulative effect can increase your energy bills by 5-12% while creating frustrating temperature inconsistencies throughout your home.
Understanding Thermostat Calibration Fundamentals
How Smart Thermostats Measure Temperature
Modern smart thermostats employ various sensing technologies, each with unique characteristics:
- Thermistor-based sensors: The most common and cost-effective option, using temperature-sensitive resistors. While adequate for basic needs, these are prone to the most significant drift over time.
- Platinum RTD sensors: Found in higher-end models, these offer better stability but still require periodic verification.
- Infrared non-contact sensors: An emerging technology that measures surface temperatures but requires careful positioning.
- Multi-sensor arrays: Advanced units combine several sensor types for improved accuracy through data fusion algorithms.
The Science Behind Calibration Drift
Several physical phenomena contribute to your thermostat’s gradual loss of accuracy:
- Material aging: Electronic components naturally degrade over time, changing their electrical characteristics
- Thermal stress: Repeated heating/cooling cycles cause microscopic changes in sensor materials
- Environmental contamination: Dust accumulation and airborne particles affect sensor performance
- Electromagnetic interference: Wi-Fi signals and other RF noise can subtly influence readings
- Software algorithm drift: Machine learning models may “learn” incorrect temperature relationships
The Complete Calibration Process: Step-by-Step
Preparation: Setting the Stage for Accuracy
Before beginning calibration, ensure proper conditions:
- Stabilize your home environment: Close windows and doors, avoid cooking or running appliances that generate heat
- Time it right: Early morning or late evening typically provide the most stable conditions
- Gather tools: You’ll need:
- NIST-traceable digital thermometer (±0.3°F accuracy)
- Small level
- Compressed air
- Smartphone with manufacturer app
- Notepad for recording measurements
Phase 1: Initial Assessment and Cleaning
- Visual inspection: Check for obvious issues like loose wiring or display problems
- Sensor cleaning:
- Carefully remove the thermostat faceplate
- Use compressed air to remove dust from sensor areas
- Inspect for corrosion or debris
- Mounting verification: Ensure the unit is level and properly seated
Phase 2: Temperature Measurement Comparison
- Establish measurement points:
- Place reference thermometer 2-3″ from thermostat
- Avoid direct contact or air currents
- Record baseline readings:
- Let system stabilize for 15 minutes
- Note both thermostat and reference temperatures
- Repeat at multiple setpoints:
- Test at 68°F, 72°F, and 76°F equivalents
- Allow 30 minutes between setpoint changes
Phase 3: Calculating and Applying Corrections
- Determine variance:
- Calculate difference between thermostat and reference at each point
- Compute average offset across all measurements
- Enter calibration adjustment:
- Access hidden technician menu (varies by brand)
- Apply calculated offset
- Some models allow different offsets for heating vs cooling
- Multi-sensor synchronization (if applicable):
- Repeat process for remote sensors
- Apply individual corrections through app
Phase 4: Validation and Testing
- Monitor system behavior for 24-48 hours
- Verify comfort levels in different rooms
- Check for reduced cycling frequency
- Confirm energy usage patterns through utility monitoring
Advanced Calibration Techniques
Seasonal Compensation Strategies
- Summer adjustments:
- Account for radiant heat effects (+0.5-1°F)
- Modify humidity compensation settings
- Winter adjustments:
- Compensate for cold wall conduction
- Adjust minimum runtime settings for heat pumps
Professional-Grade Optimization
- Cycle rate adjustment: Match to your specific HVAC equipment
- Adaptive recovery tuning: Improve pre-heating/cooling accuracy
- Sensor weighting: Balance multiple inputs for zoned systems
- Drift compensation: Some high-end models allow automatic drift correction
Maintenance and Monitoring Best Practices
Recommended Calibration Schedule
- Monthly: Quick verification check
- Quarterly: Full calibration procedure
- After extreme weather events
- Following electrical storms or power outages
- When replacing HVAC equipment
Signs Your Thermostat Needs Immediate Attention
- Temperature discrepancies >2°F from reference
- Short cycling (frequent on/off operation)
- Unexplained energy bill increases
- Inconsistent room temperatures
- Display readings that fluctuate erratically
When to Call a Professional
Certain situations require HVAC technician expertise:
- Persistent calibration issues after multiple attempts
- Compatibility problems with new HVAC equipment
- Wiring or voltage irregularities
- Error codes that won’t clear
- Systems with complex zoning configurations
The Tangible Benefits of Proper Calibration
- Energy Savings: 8-15% reduction in HVAC costs
- Enhanced Comfort: Eliminate hot/cold spots
- Equipment Protection: Reduce wear from unnecessary cycling
- System Longevity: Extend HVAC component life
- Environmental Impact: Lower carbon footprint
Conclusion: Calibration as Routine Maintenance
Just as you change your HVAC filters or schedule annual system checkups, thermostat calibration should become part of your regular home maintenance routine. In an era of rising energy costs and increasing environmental awareness, the 30-60 minutes invested in proper calibration pays dividends in comfort, savings, and system reliability.
By understanding and implementing these calibration practices, you transform your smart thermostat from a potentially inaccurate device into a truly intelligent climate control system that delivers on its promised efficiency and comfort benefits.

